Quickstart#
In this quickstart, you will build a text summarization application with a Transformer model from the Hugging Face Model Hub, deploy it on BentoCloud, and interact with it. This quickstart will help you get familiar with some of the most used features of BentoCloud.
The specific steps you will take are:
Create a Bento using the BentoML framework
Obtain an API token
Push the newly-created Bento to BentoCloud
Deploy the Bento
Interact with the Bento application
Prerequisites#
Create a Bento#
Use the BentoML open-source framework to package the Transformer model into a standardized distribution format, or a Bento. In the BentoML framework, a Bento is a deployable artifact that contains your application’s source code, models, configurations, and dependencies. All the project files are stored on the quickstart GitHub repository.
Clone the repository and go to the project directory.
git clone https://github.com/bentoml/quickstart.git
cd quickstart
Install the required dependencies:
pip install -r requirements.txt
Download the Transformer model.
python download_model.pyTest your model by serving it as an HTTP server. This starts a local server at http://0.0.0.0:3000, making your model accessible as a web service.
bentoml serve service:svc
Build your Bento.
bentoml build
For detailed explanations, see this quickstart in the BentoML documentation.
Obtain an API token#
To transfer your Bento from the local Bento Store to BentoCloud, you need to create an API token that contains the required permissions to create resources on BentoCloud.
Navigate to the API Tokens page and click Create.
Enter the token name and enable Developer Operations Access. This will create a Developer token that allows you to access BentoCloud and manage resources on it.
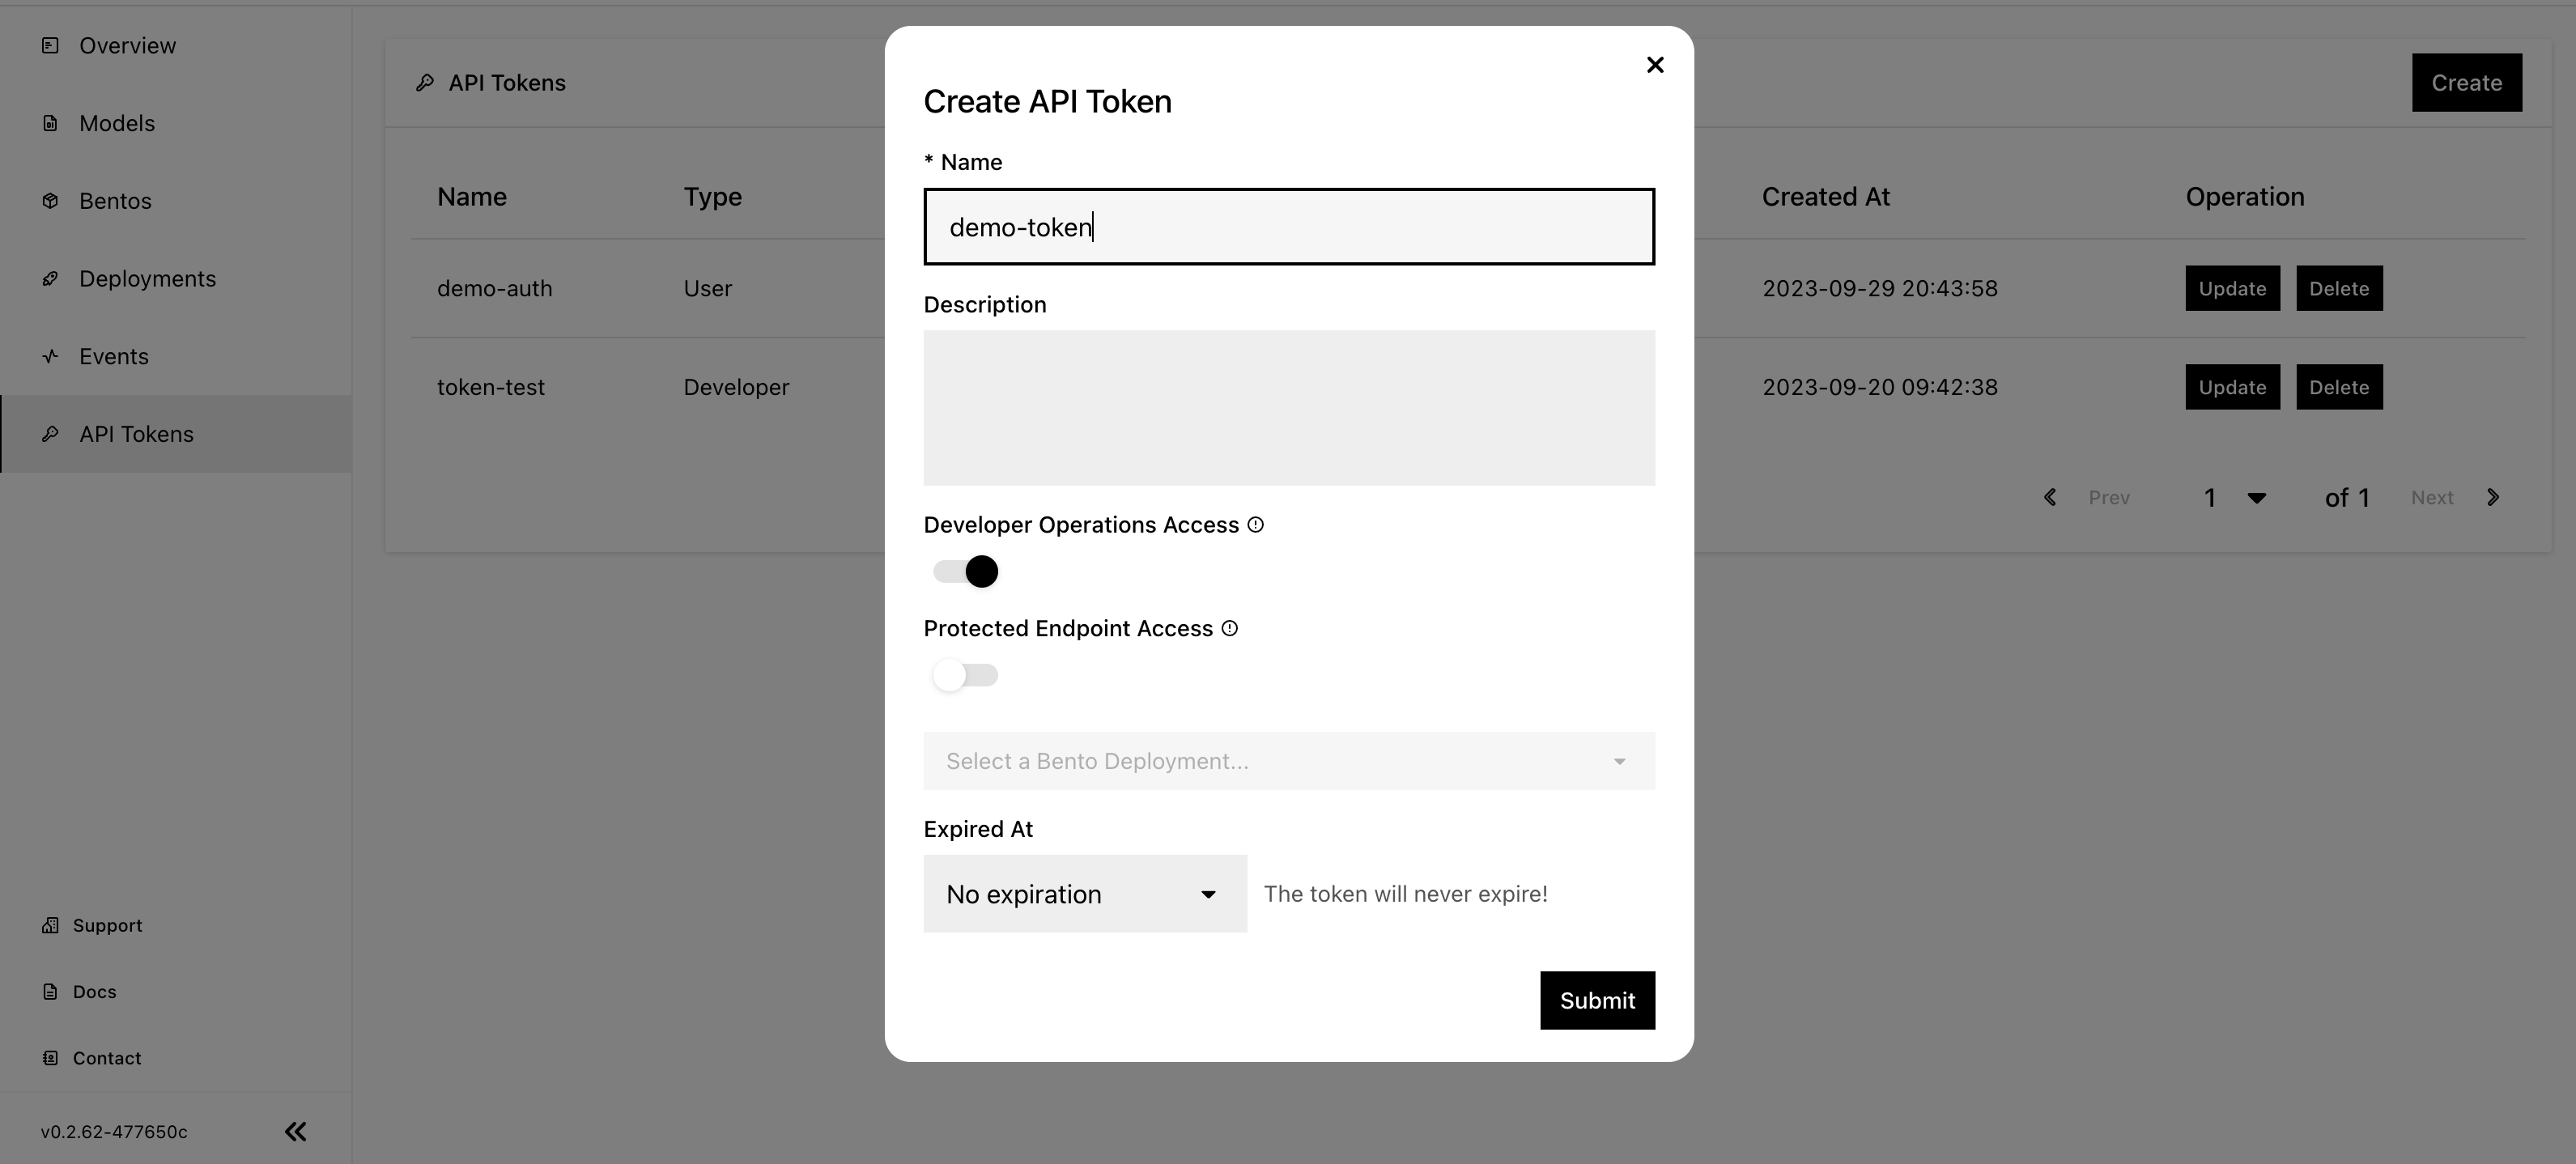
Click Submit.
Log in to BentoCloud with the BentoML CLI in your terminal. You should see following command in the dialog that appears after you submit the API token’s information.
bentoml cloud login --api-token <your-api-token> --endpoint <https://cloud.bentoml.com>
Expected output:
Successfully logged in as user "user" in organization "mybentocloud".
Note
A BentoCloud organization is a collaborative workspace where your team can manage models, Bentos, Deployments, and other BentoCloud objects. It is a shared environment that facilitates collaboration among your team members. You should have a default organization in BentoCloud.
For more information, see Manage access tokens.
Push the Bento#
With a valid API token, you can push the Bento to BentoCloud.
View all the available Bentos in the local Store and record the tag of your desired Bento.
$ bentoml list

Tag                               Size       Creation Time
summarization:bkutamr2osncanry    13.62 KiB  2023-08-14 15:27:36
yolo_v5_demo:hen2gzrrbckwgnry     14.17 MiB  2023-08-02 15:43:09
iris_classifier:awln3pbmlcmlonry  78.84 MiB  2023-07-27 16:38:42
llm-service:oatecjraxktp6nry      5.30 GiB   2023-07-12 21:48:29
Push your Bento to BentoCloud.
bentoml push <BENTO_TAG>
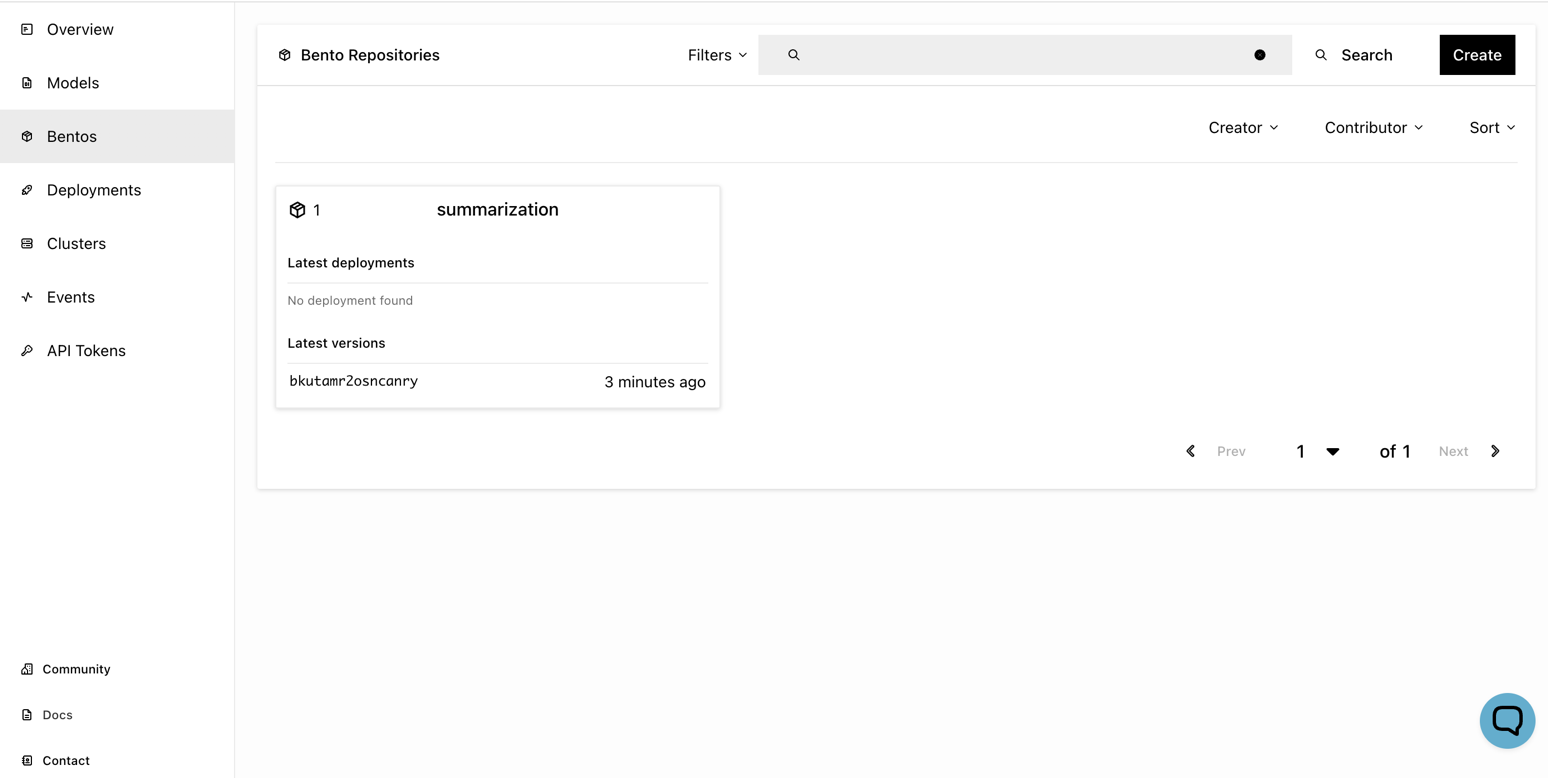
Navigate to the Bentos page and you can see that your Bento is stored in a Bento Repository. Each Bento Repository in BentoCloud includes a group of Bentos with different versions of the same machine learning model.
Deploy the Bento#
Complete the following procedure to create a Bento Deployment.
Navigate to the Deployments page and click Create.
For application type, select Online Service for this text summarization application.
Specify all the required fields. For a quickstart, you only need to use the Basic settings.
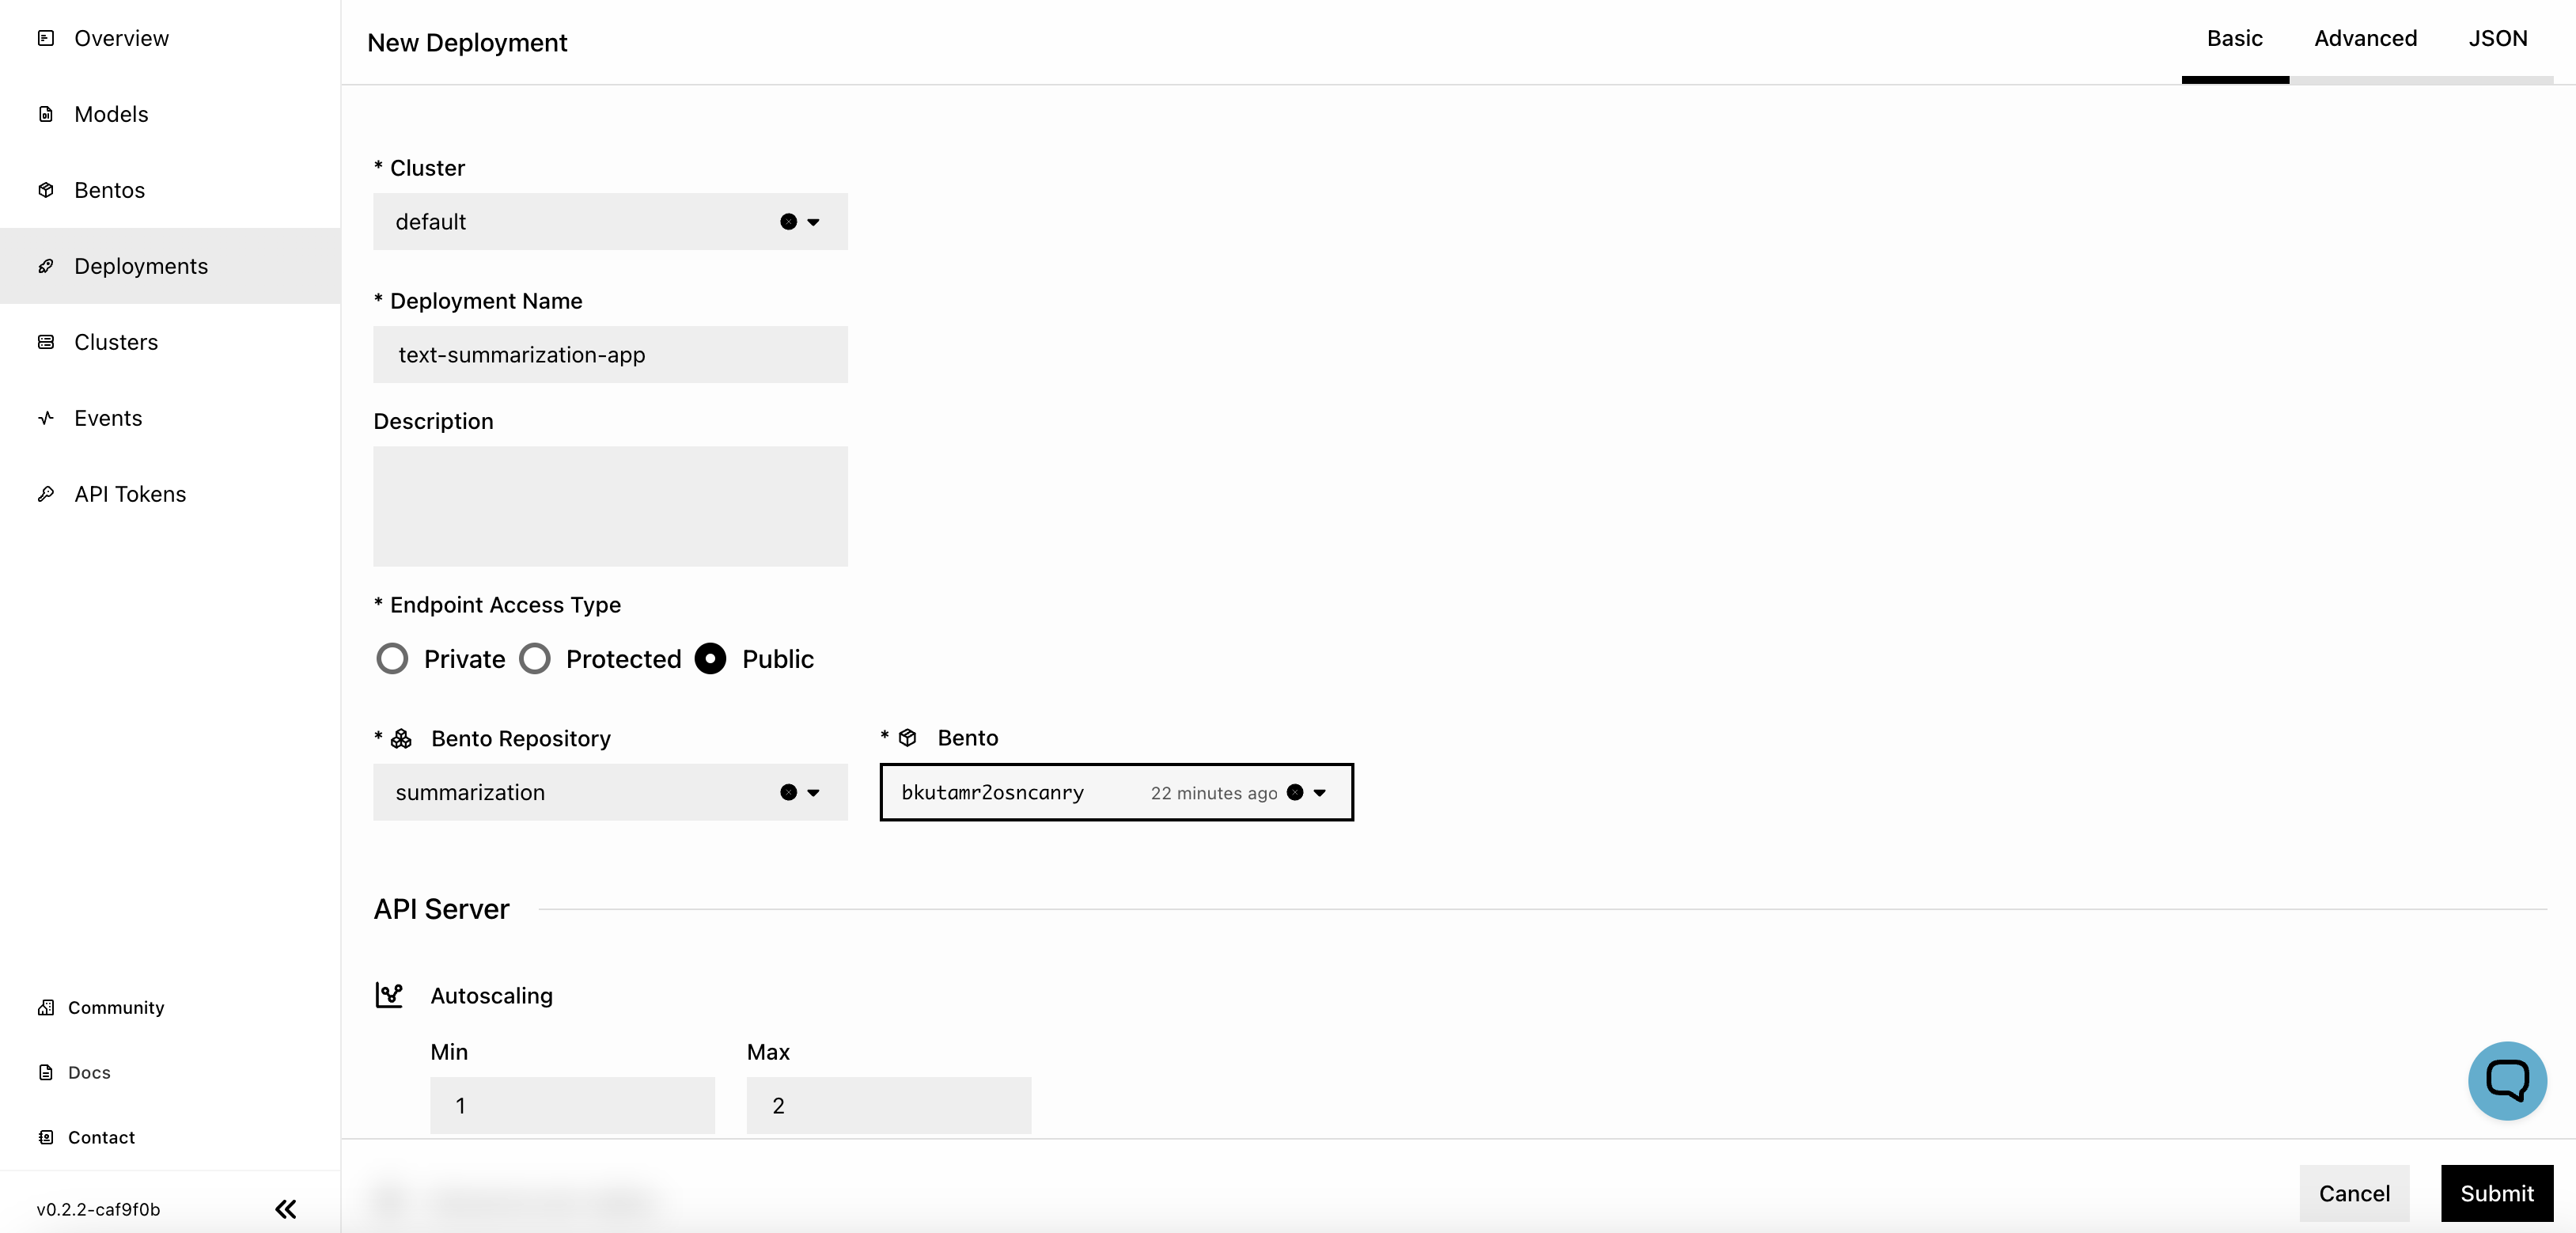
Cluster: The name of the cluster where the Bento is deployed.
Deployment Name: The name of the Bento Deployment.
Endpoint Access Type: Manages endpoint access to the Deployment. Select Public to make the endpoint URL accessible to all. You can change it later as needed.
Bento Repository and Bento: The name of the Bento Repository and the Bento’s version to be used. If your desired Repository or Bento is not displayed in the drop-down list, enter its name to search for it.
API Server and Runner: Set the minimum and maximum number of replicas allowed for scaling and choose the respective instance type to run the workloads.
For detailed explanations of available properties, see Deployment creation and update information.
Click Submit.
The application should appear on the Deployments page now.
Interact with the application#
Once your Bento application is up and running, you can interact with it via its exposed endpoint.
Click the Deployment on the Deployments page.
On the details page, click the link under URL, which directs you to the service UI.
Scroll down to Service APIs, expand the
summarizeinference API menu, and click Try it out. In the Request body box, enter your prompt and click Execute. This returns a summary of your input text.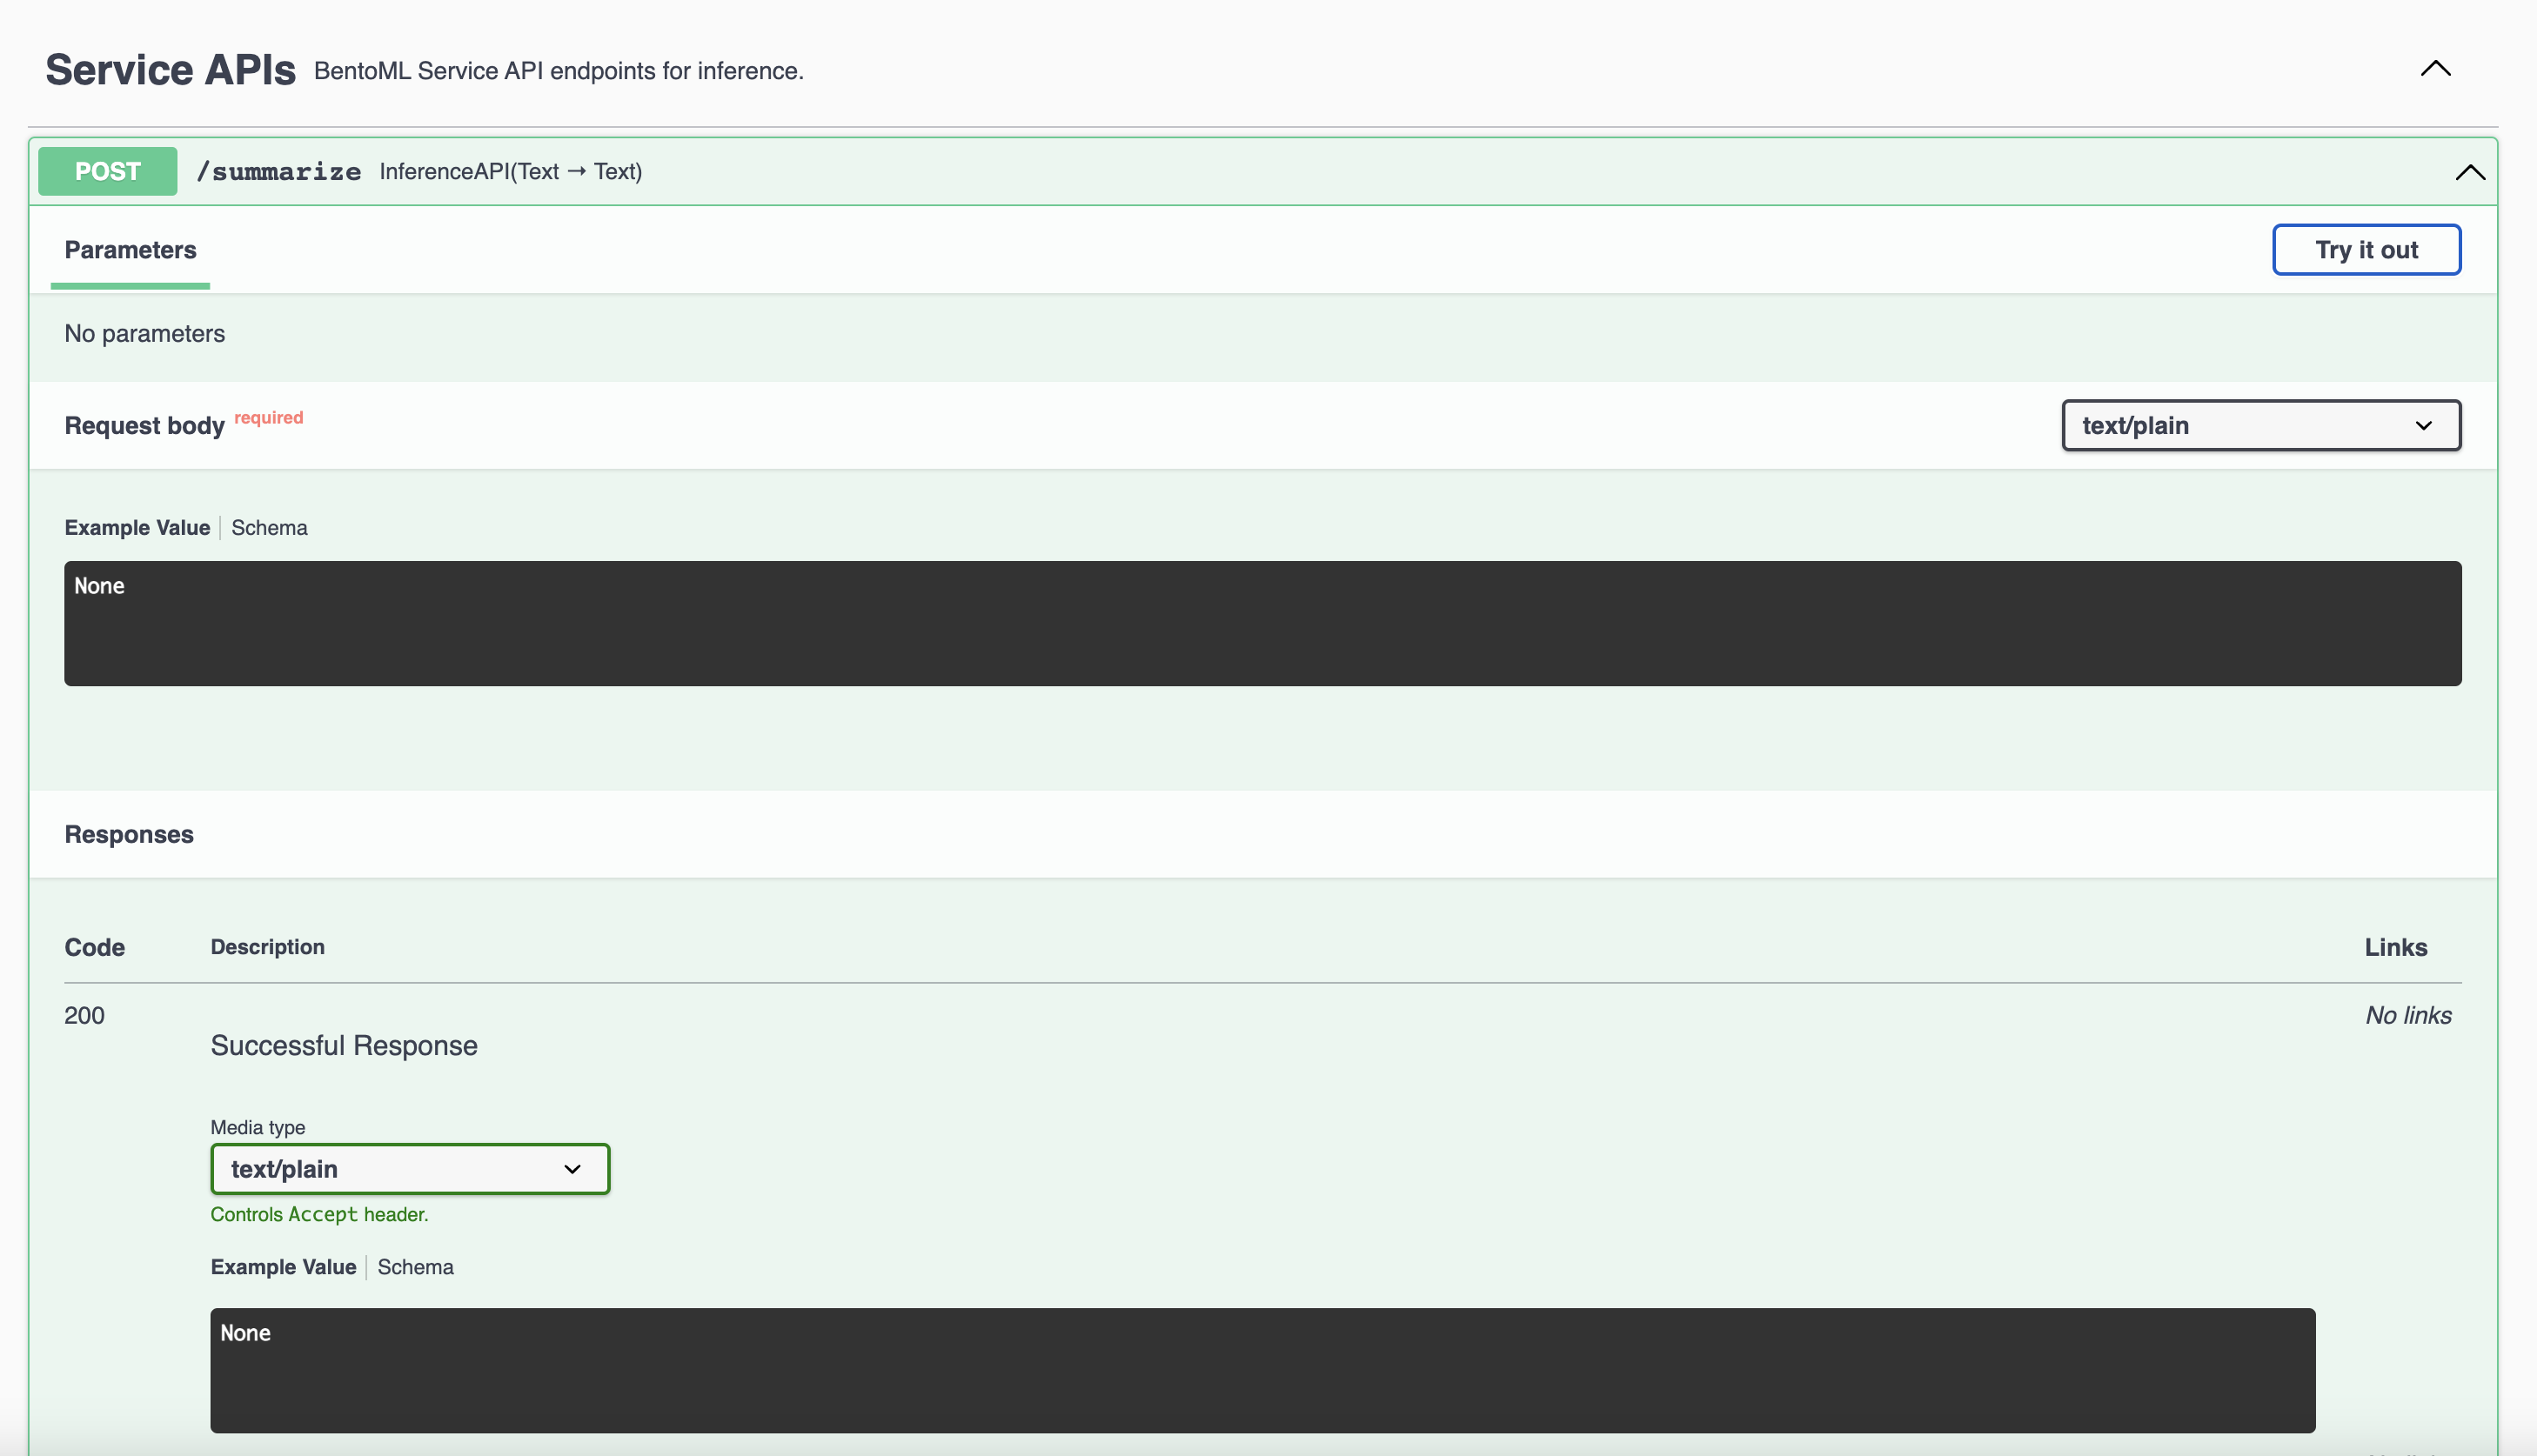
Alternatively, send a request from your terminal using
curl. Replace$INPUT_TEXTin the following command with your own prompt.curl -X 'POST' \ 'http://<your-deployment-url>/summarize' \ -H 'accept: text/plain' \ -H 'Content-Type: text/plain' \ -d '$INPUT_TEXT'