ControlNet#
ControlNet is a neural network architecture designed to enhance the precision and control in generating images using text and image prompts. It allows you to influence image composition, adjust specific elements, and ensure spatial consistency. ControlNet can be used for various creative and precise image generation tasks, such as defining specific poses for human figures and replicating the composition or layout from one image in a new image.
This document demonstrates how to use ControlNet and Stable Diffusion XL to create an image generation application for specific user requirements.
All the source code in this tutorial is available in the BentoControlNet GitHub repository.
Prerequisites#
Python 3.9+ and
pipinstalled. See the Python downloads page to learn more.You have a basic understanding of key concepts in BentoML, such as Services. We recommend you read Quickstart first.
(Optional) We recommend you create a virtual environment for dependency isolation. See the Conda documentation or the Python documentation for details.
Install dependencies#
Clone the project repository and install all the dependencies.
git clone https://github.com/bentoml/BentoControlNet.git
cd BentoControlNet
pip install -r requirements.txt
Define the model serving logic#
Create BentoML Services in a service.py file to specify the serving logic of this BentoML project. In the cloned repository, you can find an example service.py file that uses the following models:
diffusers/controlnet-canny-sdxl-1.0: Offers enhanced control in the image generation process. It allows for precise modifications based on text and image inputs, making sure the generated images are more aligned with specific user requirements (for example, replicating certain compositions).
madebyollin/sdxl-vae-fp16-fix: This Variational Autoencoder (VAE) is responsible for encoding and decoding images within the pipeline.
stabilityai/stable-diffusion-xl-base-1.0: Takes text prompts and image inputs, processes them through the above two integrated models, and generates images that reflect the given prompts.
from __future__ import annotations

import typing as t

import numpy as np
import PIL
from PIL.Image import Image as PIL_Image

from pydantic import BaseModel

import bentoml

CONTROLNET_MODEL_ID = "diffusers/controlnet-canny-sdxl-1.0"
VAE_MODEL_ID = "madebyollin/sdxl-vae-fp16-fix"
BASE_MODEL_ID = "stabilityai/stable-diffusion-xl-base-1.0"

@bentoml.service(
    traffic={"timeout": 600},
    workers=1,
    resources={
        "gpu": 1,
        "gpu_type": "nvidia-l4",
    }
)
class ControlNet:

    def __init__(self) -> None:

        import torch
        from diffusers import StableDiffusionXLControlNetPipeline, ControlNetModel, AutoencoderKL

        if torch.cuda.is_available():
            self.device = "cuda"
            self.dtype = torch.float16
        else:
            self.device = "cpu"
            self.dtype = torch.float32

        self.controlnet = ControlNetModel.from_pretrained(
            CONTROLNET_MODEL_ID,
            torch_dtype=self.dtype,
        )

        self.vae = AutoencoderKL.from_pretrained(
            VAE_MODEL_ID,
            torch_dtype=self.dtype,
        )

        self.pipe = StableDiffusionXLControlNetPipeline.from_pretrained(
            BASE_MODEL_ID,
            controlnet=self.controlnet,
            vae=self.vae,
            torch_dtype=self.dtype
        ).to(self.device)

    @bentoml.api
    async def generate(self, image: PIL_Image, params: Params) -> PIL_Image:
        import cv2

        arr = np.array(image)
        arr = cv2.Canny(arr, 100, 200)
        arr = arr[:, :, None]
        arr = np.concatenate([arr, arr, arr], axis=2)
        params_d = params.dict()
        prompt = params_d.pop("prompt")
        image = PIL.Image.fromarray(arr)
        return self.pipe(
            prompt,
            image=image,
            **params_d
        ).to_tuple()[0][0]

class Params(BaseModel):
    prompt: str
    negative_prompt: t.Optional[str]
    controlnet_conditioning_scale: float = 0.5
    num_inference_steps: int = 25
This file defines a BentoML Service ControlNet with custom configurations in timeout, worker count, and resources.
It loads the three pre-trained models and configures them to use GPU if available. The main pipeline (
StableDiffusionXLControlNetPipeline) integrates these models.It defines an asynchronous API endpoint
generate, which takes an image and a set of parameters as input. The parameters for the generation process are extracted from aParamsinstance, a Pydantic model that provides automatic data validation.The
generatemethod returns the generated image by calling the pipeline with the processed image and text prompts.
Run bentoml serve in your project directory to start the BentoML server.
$ bentoml serve service:ControlNet

2024-01-09T04:33:24+0000 [INFO] [cli] Starting production HTTP BentoServer from "service:ControlNet" listening on http://localhost:3000 (Press CTRL+C to quit)
The server is active at http://localhost:3000. You can interact with it in different ways.
curl -X 'POST' \
    'http://localhost:3000/generate' \
    -H 'accept: image/*' \
    -H 'Content-Type: multipart/form-data' \
    -F 'image=@example-image.png;type=image/png' \
    -F 'params={
    "prompt": "A young man walking in a park, wearing jeans.",
    "negative_prompt": "ugly, disfigured, ill-structured, low resolution",
    "controlnet_conditioning_scale": 0.5,
    "num_inference_steps": 25
    }'
import bentoml
from pathlib import Path

with bentoml.SyncHTTPClient("http://localhost:3000") as client:
    result = client.generate(
        image=Path("example-image.png"),
        params={
                "prompt": "A young man walking in a park, wearing jeans.",
                "negative_prompt": "ugly, disfigured, ill-structure, low resolution",
                "controlnet_conditioning_scale": 0.5,
                "num_inference_steps": 25
        },
    )
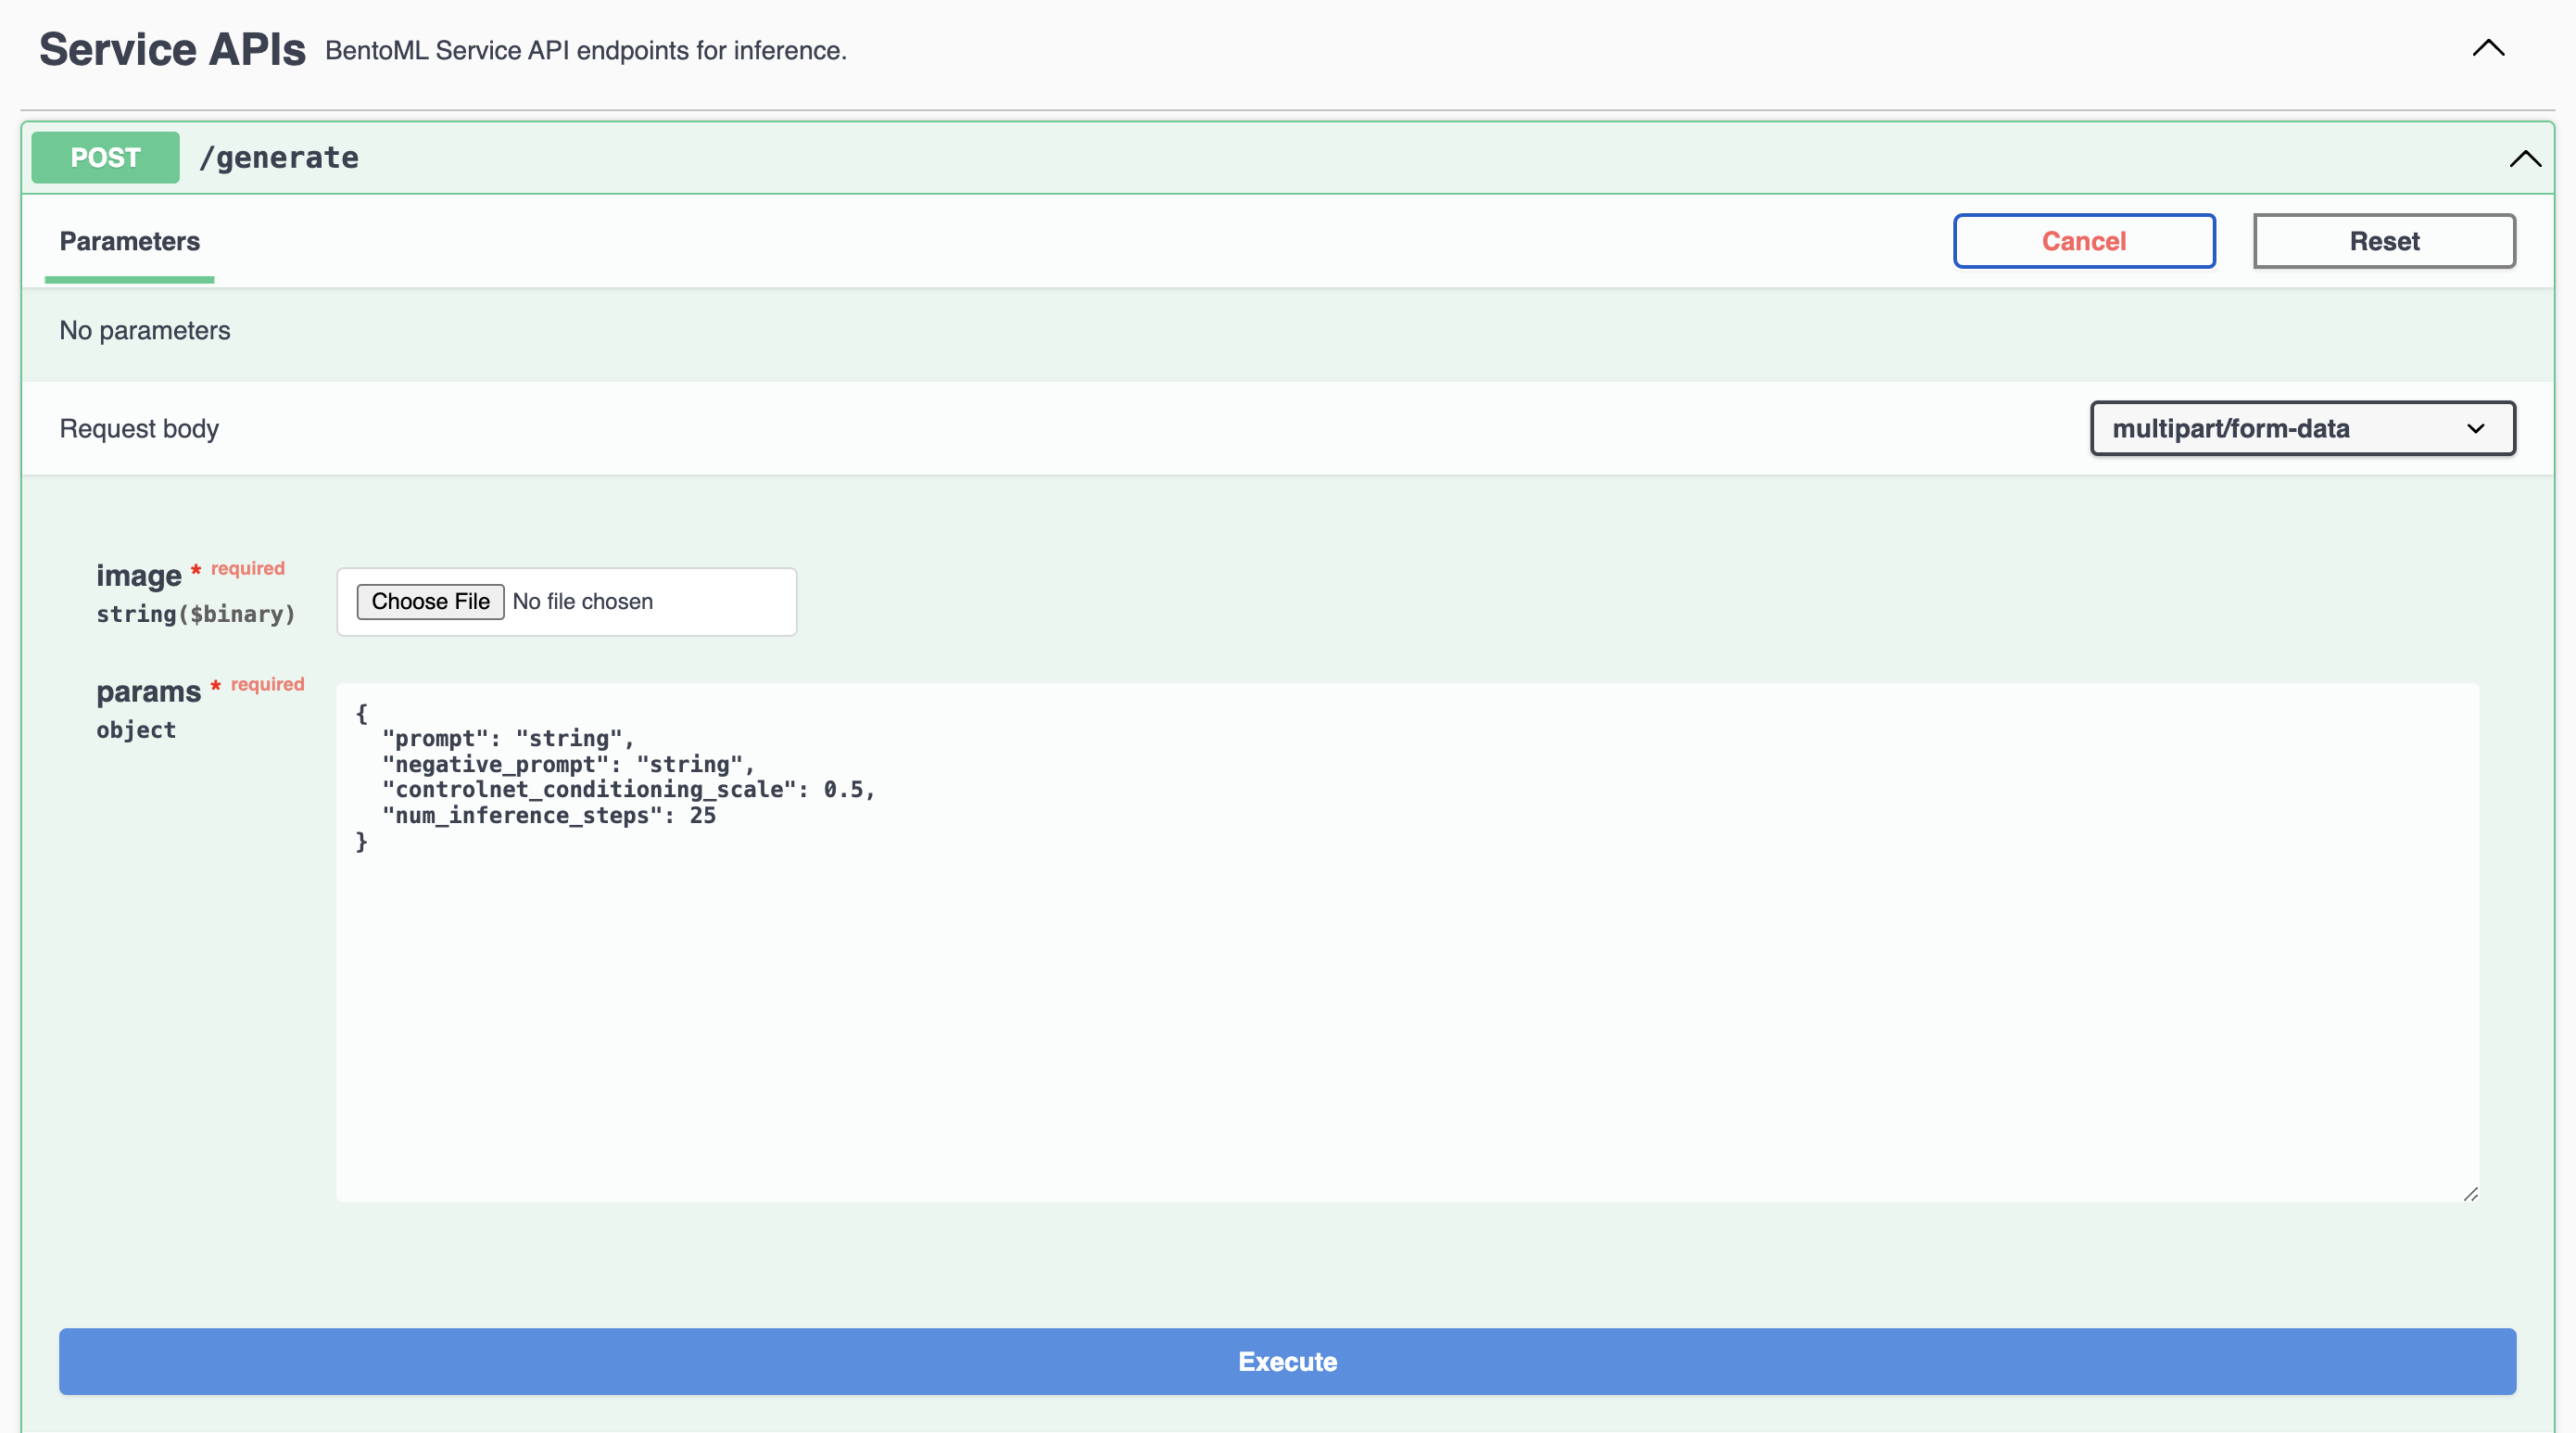
Visit http://localhost:3000, scroll down to Service APIs, specify the image and parameters, and click Execute.
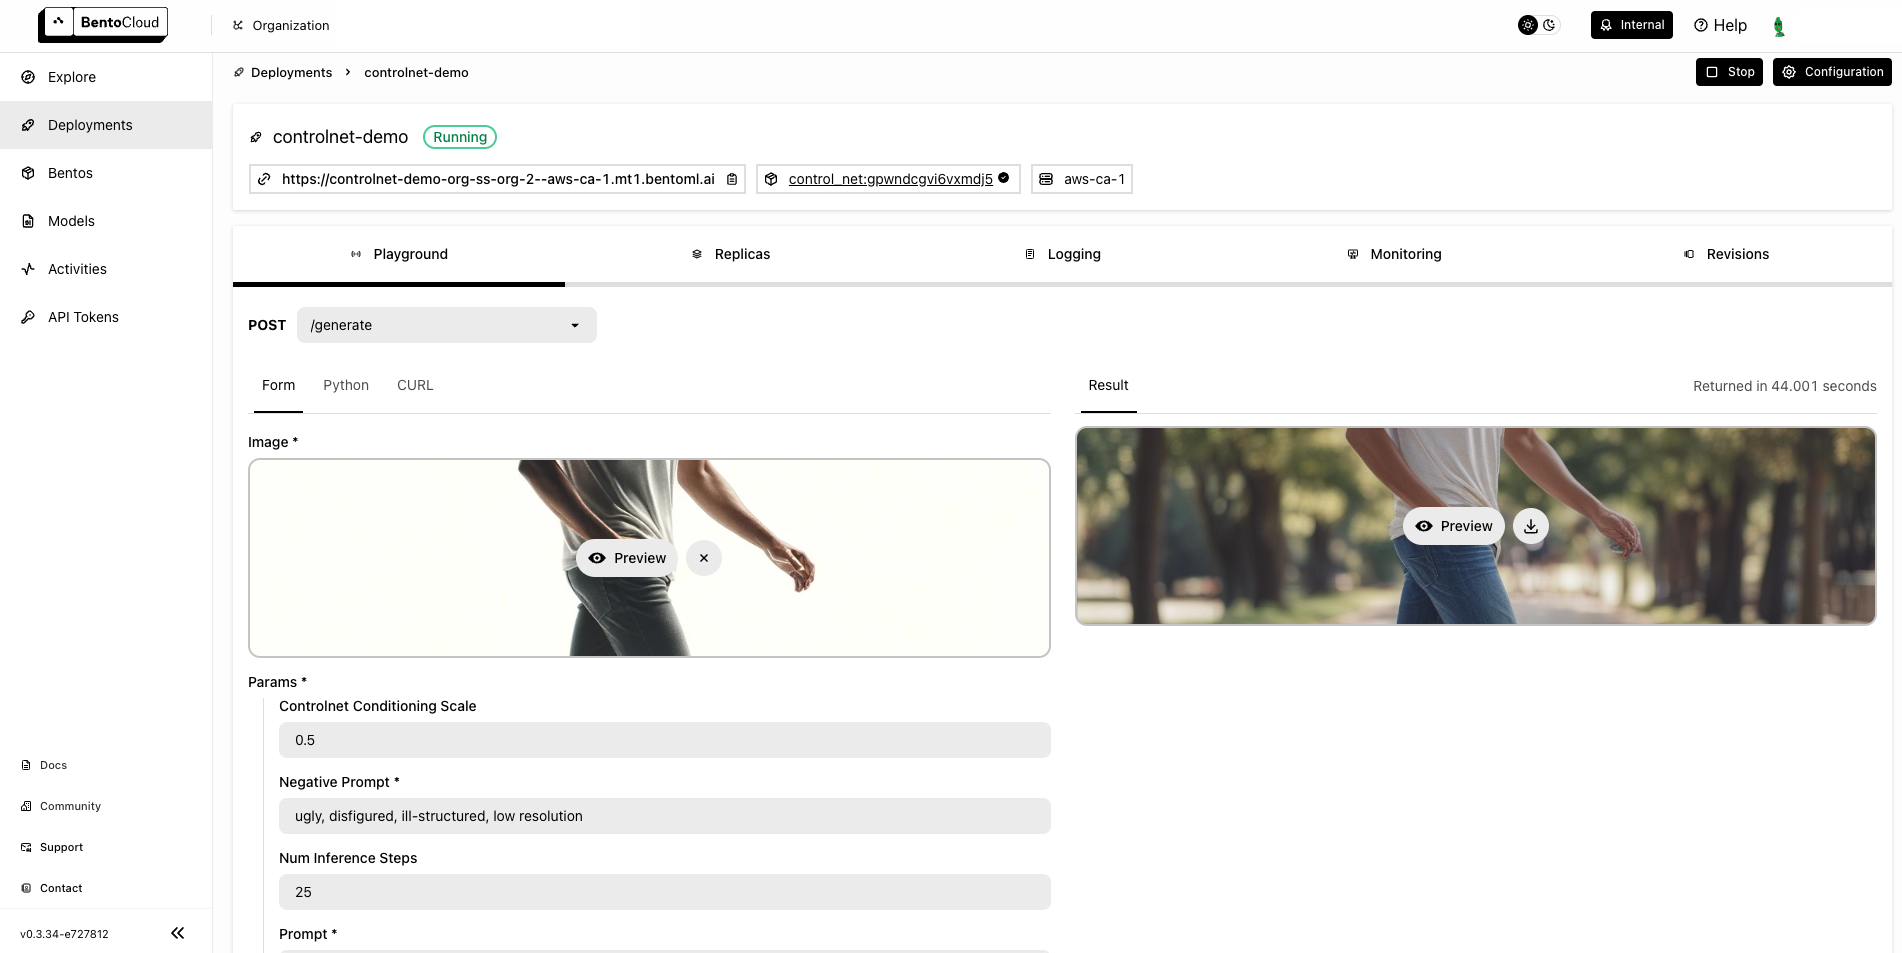
This is the example image used in the request:

Expected output:

Deploy to BentoCloud#
After the Service is ready, you can deploy the project to BentoCloud for better management and scalability. Sign up for a BentoCloud account and get $30 in free credits.
First, specify a configuration YAML file (bentofile.yaml) to define the build options for your application. It is used for packaging your application into a Bento. Here is an example file in the project:
service: "service:ControlNet"
labels:
  owner: bentoml-team
  project: gallery
include:
- "*.py"
python:
  requirements_txt: "./requirements.txt"
docker:
    distro: debian
    system_packages:
      - ffmpeg
Create an API token with Developer Operations Access to log in to BentoCloud, then run the following command to deploy the project.
bentoml deploy .
Once the Deployment is up and running on BentoCloud, you can access it via the exposed URL.
Note
For custom deployment in your own infrastructure, use BentoML to generate an OCI-compliant image.